Friday, October 18, 2013

A Duct Tape fix

So back in September we went camping as a family, and they had a camp store that had some awesome stuff in it.  One of the sections of the camp store had a section with handbags and jewelry in it, and I went to the hubs like honey look our anniversary is coming (hint hint).  They had this really cute handbag that was covered in tiger striped material and gems etc (my friend and i have a joke that if I had a past life i must have been a mag pie....no we don't really believe in past lives it's just a joke because i like shiny things)

Anyway the bag was completely gorgeous but it had a sticker price of $50.00 and while the hubs was totally supportive and was like you should totally go back and get it....we knew the truth that 50.00 for a purse wasn't necessarily the best use of that 50.00 for us.  We already knew for our anniversary we wanted to have a nice dinner out with some friends.

So I had a thought, over the summer I had gotten some shoes off one of those facebook groups where you sell things locally...and with it came this purse but it looked like this:

The straps were broken like this on each side.  It was a gorgeous golden bag but how do you fix purse straps.  I had assumed it would just end up being something my daughter played with.  But with thoughts of the purse I had liked at the camp store, I got inspired and got some items together.

What I have here is a necklace form my jewelry box that I paid like a dollar for but decided I really didn't like it....the Goop stuff from my crafting project stash(it has a really really strong smell that lingers so if you are sensitive to smells, you might want to find a less smelly adhesive), and a plastic bracelet from my jewelry box (but i ended up not using the bracelet in this project.)  There is also some Duck Tape in a spotted leopard print that I picked up from Walmart for $3.50.  The idea to use Duck Tape for this project came from my hubby.  He was like why can't you fix the bag with some of that designer tape that I have seen kids  playing with.  I had found some tiger stripped tape, but decided that the spotted leopard print would look better.

This is what I did.  
I cut one strip of duct tape in half lengthwise, and pulled the broken straps together and taped the duct tape to the handles.  Then I cut lengths of tape in horizontal pieces and went around each handle.


I then used the goop and glued the cross from the chain onto a side of the purse.  The goop dried clear so it worked out great.  Sorry the pictures are a little glowy because of the golden color of the purse and it reflected the flash from my camera.  I recently read there is free photo editing software online so maybe I will try soon to learn how to use it.

Here is the finished project: 
So I wanted something new, but was able to fix something old and make something new out of it!!! And the total cost of the project was maybe $4.50 in materials, but I have a ton of the Duck Tape left over, I did a little handbag up for my daughter and will use some in another project for a gift for my daughters birthday coming up in three weeks.

Do you have a creative side.  In what ways do you express yourself.  Look around you house what can you do with something you already have?

Tuesday, October 15, 2013

Tips and Tricks Tuesday!!!

Man Tuesday comes quick doesn't it?  A week has flown by.  I feel better this week but didn't make any progress.  I have actually gained 2.6 pds this week according to my Wii Fit, but I am ok with that, I am on my monthly period, and last week we celebrated hubby's birthday and our 15 year wedding annivesary.  There were definately some meals in there that were not figure friendly :) and I had a couple of drinks which is very rare for me but I know those were extra calories too.

So I am curious, with special celebrations and holidays, is everyone on their best eating behavior or do you let go and really enjoy that meal you want to have?  It's back on track for me now.  After weighing myself I did 11 minutes of exercise, including two yoga poses.  I surprisingly could feel muscles that I apparently don't use being used for those poses.  Because they hurt now......it is a good hurt though.  We have been working really hard on the house.  I admit decluttering the house, has become my first priortity, I am still trying to make getting rid of body clutter a priority.  I do struggle with a chronic unidentified pain condition, so I will just have to work my way up to tolerance I guess and stop letting it deter me.  I didn't get that appointment at the gym because I really felt sick alot last week.  I hope to get it in this week maybe.  After all work has ceased to exist for me right now.

Does anyone else have chronic pain issues?  How do you cope?

So here it to working on incorporating myself into my daily routine and to start attacking body clutter 15 minutes at a time like I do the house.


Anyone interested in being my accountability partner to ask me if i did at least my 15 minutes of activity?  How do you make progress, do you have an exercise buddy?  I will happily cheer you on as well.  The pic above is from this weekend.  I spared the full body profile shot because not changes yet from the last one.  I did tone down my hair for the fall. I still can't figure out how to style it.

Stop by and get, or give advice over at

Monday, October 14, 2013

the Great Room.....undone

well mostly undone from chaos there is a little left to organize and one or two items to give away and put away.

So let me get to the before.


Nice and chaotic right, well we had several things to do and it took some time to get this area under control, but we knocked it out in time to have dinner with the grandparents this past Friday night. Here is what it looks like now:


Over the last couple months, we got rid of our old floor model Rca tv...it was free to us and served us well for a couple years, but we passed it along to someone else.  Over the summer we purchased a flat screen Tv from Wal Mart it was a display model and it was half price and it turned out to be a smart tv..plus I had a friend that works at Walmart buy it for me, and we got another 10 percent off.  It took us so long to use it because it didn't come with a stand or remote, I didn't want to buy a stand because they were like 80.00 and we did not want to spend any more money on the tv.  If I had to start buying more accessories for it, it is not as much of a savings.  So over the last couple of weeks we made one from pallet wood at work.  We also changed the way the furniture faced.  It really makes the room seem alot bigger.  And we got rid of the landlords big table and moved our small one into a nook area and put two book shelves around it so we have an official reading and crafting area in the room.

The book shelves are ones that we already had...one from the office, one from the shed.  We painted them with a can of paint that we bought to paint our home made tv stand.  It was a 5.00 can of oops paint from Lowes marked down from 32.98.  My Uncle told us about the oops paint idea and it was perfect...and we still have half a gallon left.  And my husband loves the color.  I was skeptical at first but it is a pretty shade of blue, and it's his castle too right?  I like the new look of the Great Room, I just have some tweaking to do to get it just right but 15 minutes at a time, and until more equipment comes to us, I guess I will have more time to do projects at home.

I am learning to love keeping the house on purpose and with a purpose!!!!

Wednesday, October 9, 2013

an anniversary gift

I wanted to share with you a gift that I made for my husband for our annivesary.  Tomorrow will officially be our 15 year anniversary, but I have finished the gift, and displayed it already because I want him to wake up to it in the morning.  You could do this with anything, but I was inspired by an idea on pinterest.  Our bed does not have a headboard, and  I do not wish to save the money to buy one.  So I went to pinterest and googled faux headboards and selected this one because it seemed like the easiest and least expensive but a creative option to me.

http://colesinthekitchen.blogspot.com/2013/02/diy-faux-headboard.html

 My creation was a little more time consuming but a little more personal for us then just the washi or duct tape which was a very cool idea.....but here is my what I had in mind:


I will try to be quick about details, but I do want to share it on a couple of link ups.  I am a novice crafter, but I am satisfied with how it turned out.  And honestly cost wise I think I spent 15.00 on materials.  I also used several things that I already had on hand.  And for what I spent 5.00 of it was a gift card i earned from www.swagbucks.com....I got a 5.00 walmart gift card and payed for the Modge Podge I used with that, and I have had plenty of Modge Podge to use for other projects too.


I made these using 12 by 16 flat art canvas pieces from Walmart. I got a pack of three for less than 6.00.  That was my base, I took sheets of scrap paper and cut them into strips, and i also incorporated cards and love notes that my husband and I exchanged and had kept for the past 16 to 17 years.  They have just been sitting in a tote all these years, so why not bring them out, use the ones I love, and get rid of the others that aren't necessary.

This is me tracing the scrap paper with the ruler and cutting strips.....i used all kind of colors to try and tie in all the colors of my room .  The scrapbook paper was something I already had, I got a ton in a case over the summer in a tote bag for like 7.00 from a thrift store.  When looking for craft supplies, it does not hurt to check a thrift store they usually don't have high prices on such things. At least they don't in my area.


I used the Modge Podge on the back of the strips to glue them to the canvas, I just painted it on with a paint brush and spaced them out and mismatched them like this. 

then I layed out my favorite cards, and lines from our love notes, and modge podged them to the board.  The modge podge looks white but dries clear, and I got the glossy kind.  The third board is made much like the first but I put pics of us from over the years on it.

I also put some ribbon over each edge to give them a finished appearance.  I (you guessed it) modge podged them on too.  After everything was applied to each board I applied Modge Podge in two or three coats over each board to offer a little protection from wear and tear and it also gave them a glossy look.

The middle (or second) board is different....it is like this.


I modge podge plain gray paper to the canvas and cut out a large T for our last name out of patterened scrap book paper and stuck a hand drawn picture my husband had given me a long time ago in the middle.
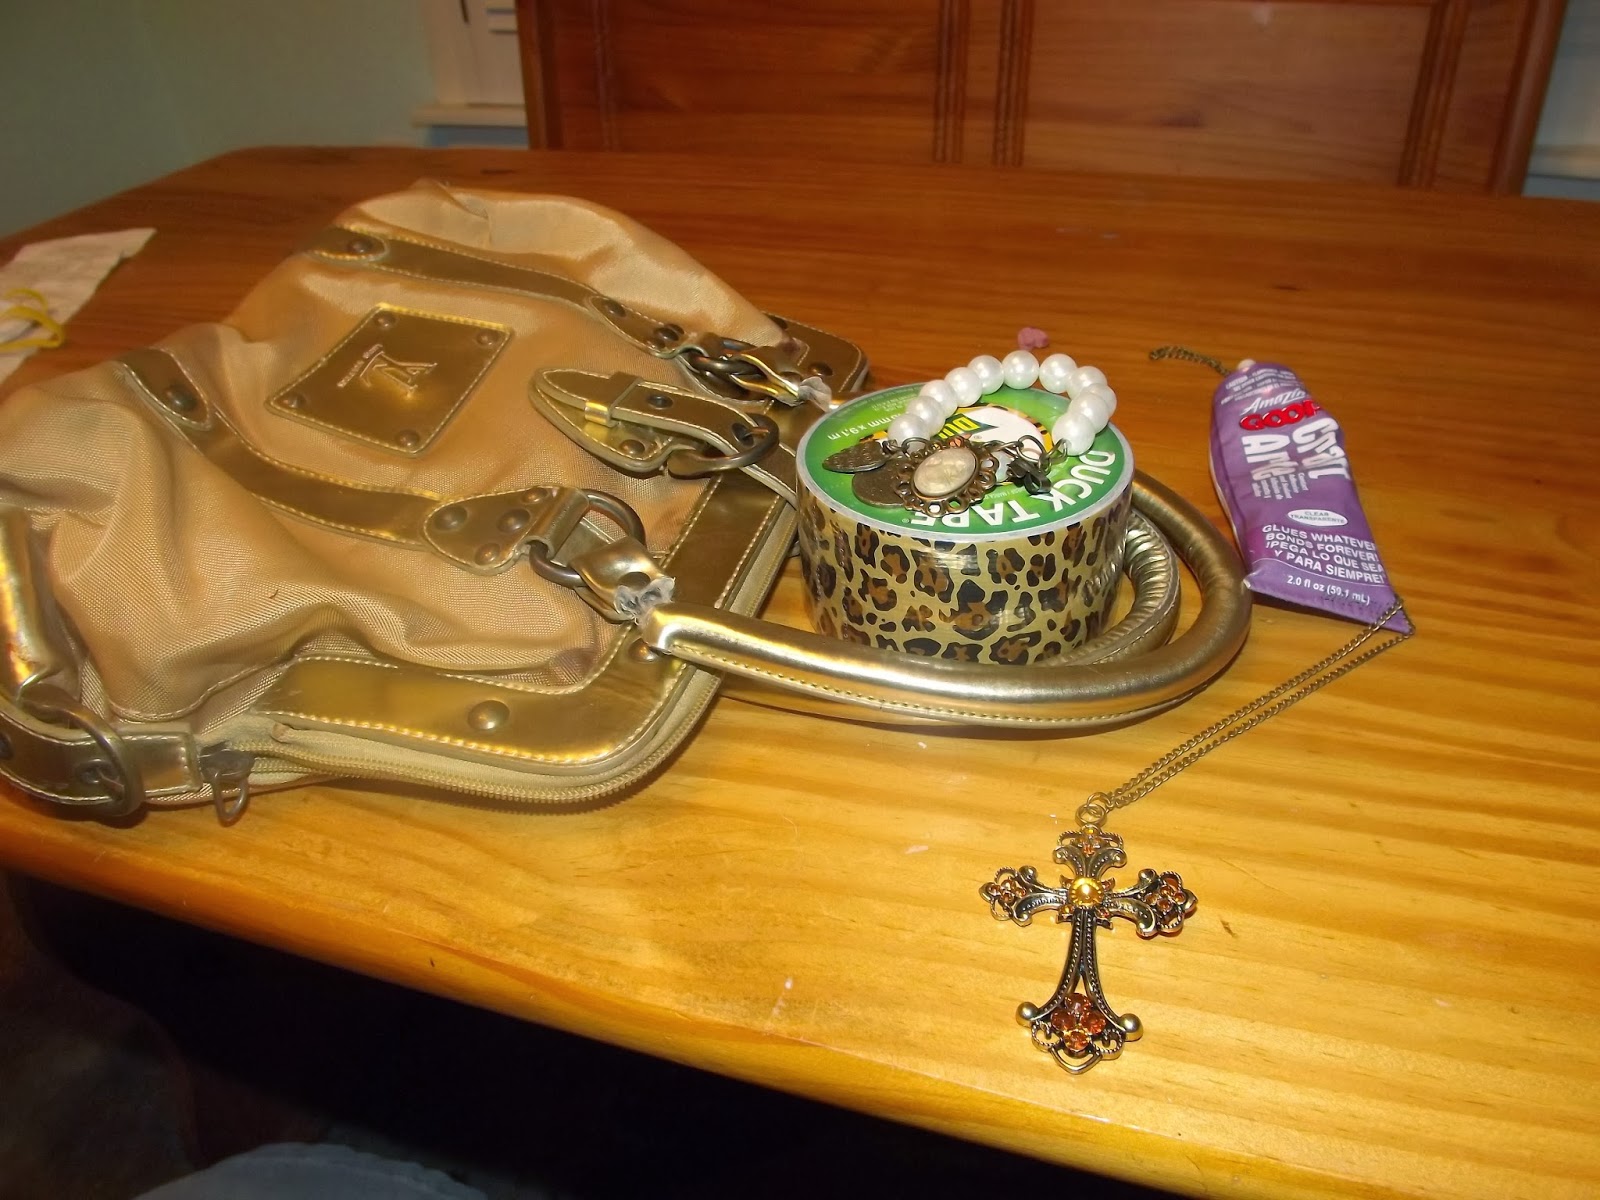
I then added some cut out designs of a bride and groom and  this saying EST  1998 across it in black cut out letters.  I did the edges with silver ribbon and on the top and bottom used beads from a necklace that I paid to much money for at a thrift store.  (I previously tried to sell it and could not) so I dissected it a little for this project and used some really stinky adhesive called Goop that you can find in the craft section at walmart to glue it on.  Here is how it turned out.
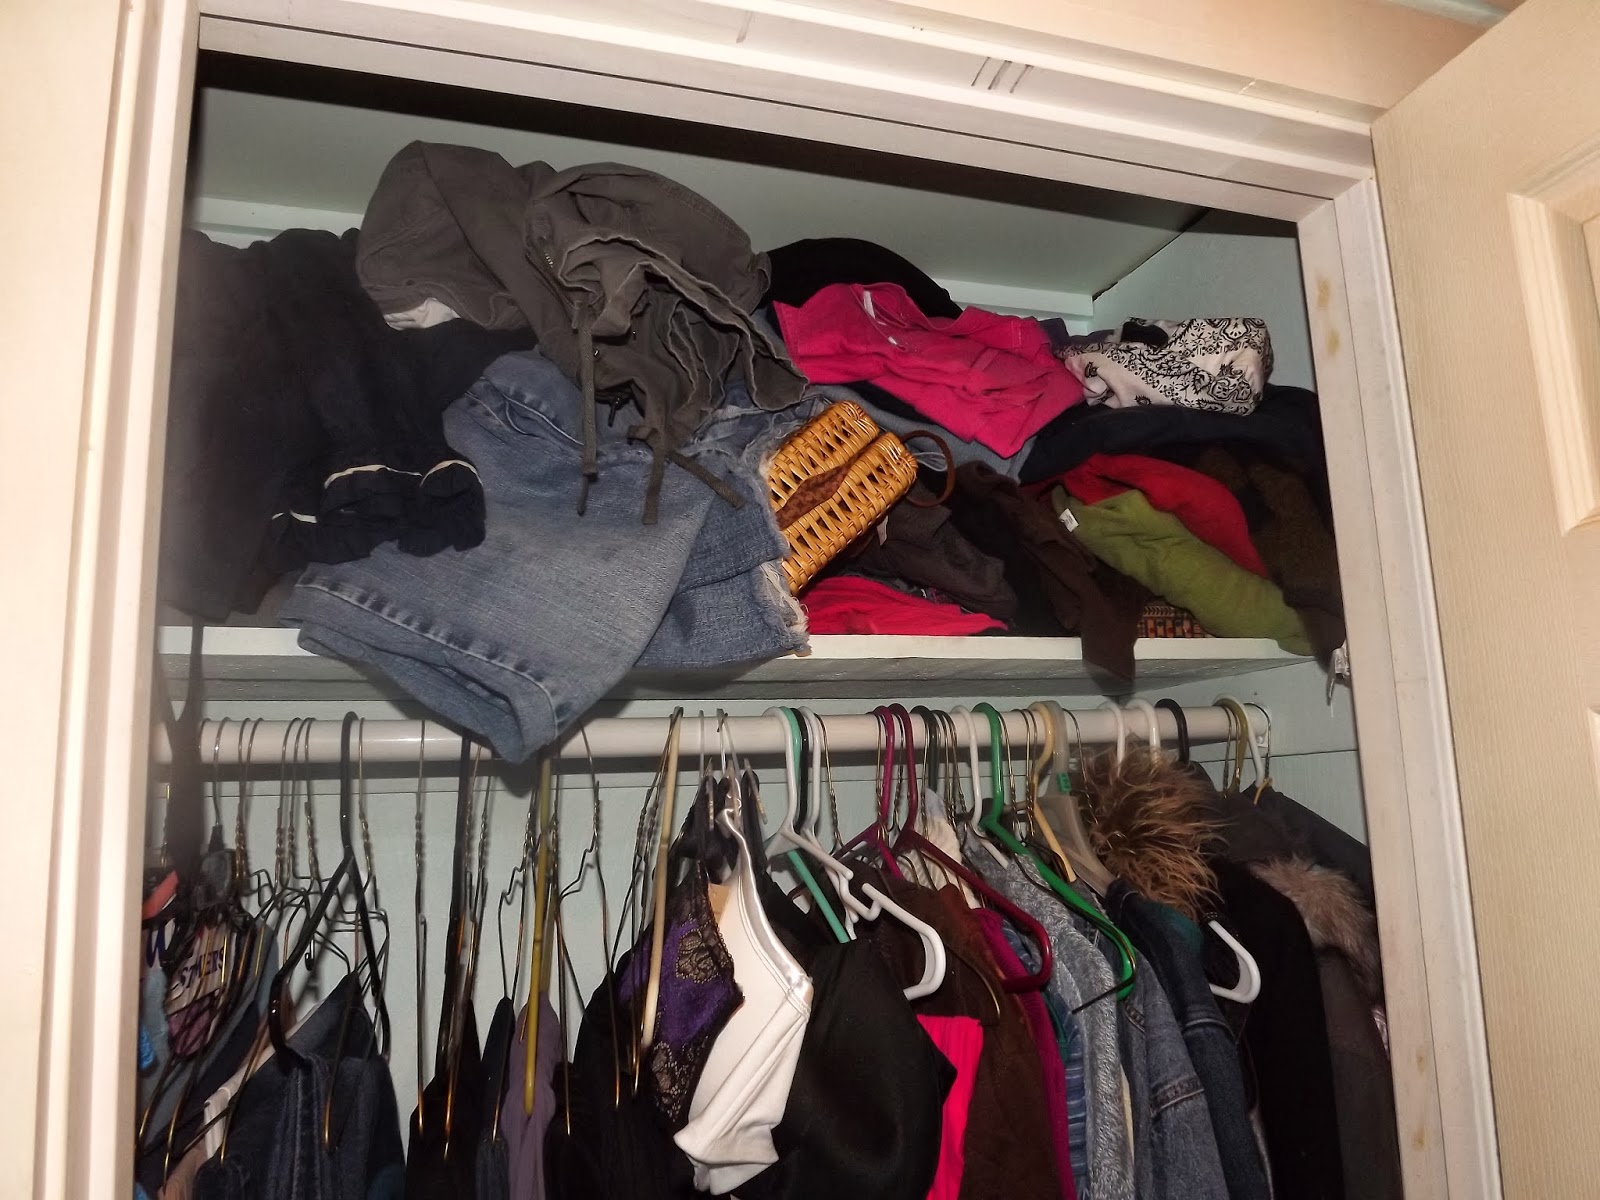
I hung them with 3M fasteners from Scotch.  I paid like maybe 5.00 for all the command strips i used because i bought them slowly at Michael's craft store with 40 percent off coupons so I paid like 2.60 a pack for them.  I also bought the 3M hooks to hang the material on.  The material at the top is actually two scarves  I had in my closet that I do not wear.  One i wore when we renewed our vows about 10 years ago and the other was a hand me down from a friend I never wore.  I really think it turned out well.  Now to see what the hubs thinks....we are going out tonight with him and my Uncle (they share the same birthday, not age though)  So we are celebrating birthdays and  having dinner on our day off.  We are sending the kids to the grandparents this weekend and celebrating our anniversary..just the two of us.

I have been keeping up as best as I can with the challenges and will share my progress soon, but I was put behind a little with illness last week, and I have been struggling with lingering nausea much of the week.  I put on my make up anyway and have my clothes laid out for dinner.


What are you up to this week?


Tuesday, October 8, 2013

It's Tips and Tricks Tuesday again!!!!


exploring Domesticity 


Please come by and get or give some advice :)  I have changed my Transformation Thursday posts to Tuesday to make it easier for me to share my information as well.

So i weighed in today and here is the results


At least it is a decrease!!!! I have been reporting back to the gym to swim on Wednesday nights, I hope to go and have an appointment with someone at the Y to go over all the other equipment with me so that I can be sure I am using the equipment correctly. (I am so insecure about exercising in front of others)  And I would like to get some ideas for exercises that will specifically target my "apron belly."  My body is irregular and it is about that time for my female monthly to rear it's ugly head, and I have been feeling the effects it bring with it the week before.  My back is hurting, I am tired, and even a little nauseated.  

But one little thing I found that makes me feel like I had a treat this week is this:


They come in lots of different flavors, choclatey delight, brown sugar and cinnamon, cookies and creme, I even had one that was chocolate caramel.  They are 100 calories per two pastry crisp pack.  My favorite is the STRAWBERRY.  I used to love the strawberry pop tarts that kellogs makes, but I cannot eat them for all the sugar and calories, they spike my blood sugar something awful, but these pastry crisps taste just like I am having a pop tart.  And I can take it out the door for a snack or breakfast.  I usually have a small glass of milk with it.    Well that is it for this weeks transformation post.  Not a whole lot to report.  I hope everyone is having a great Tuesday!!!!


Thursday, October 3, 2013

Day 3 of challenges!!!!!

I am still following along with the challenges of Becky over at http://organizingmadefun.blogspot.com/


I know I said I was going to spare you the picture of my underwear drawer...but it looks like I lied because that was todays challenge.

so here it is my before


Here is the after organization:


Now my pjs share the drawer with my bra and underwear (I am sure this arrangement is different for everyone)...so what you see are the pjs folded like yesterdays shirts and filed so i can see them and pair them if I want to...in the middle my underwear are rolled up like rags and off to the side are my lingerie things.....and beind the undwear in a neat pile are my tshirt bras...i don't wear socks much but when I share short ones with my hubs and they reside in his dresser (which I will be doing soon muuuuaaaaah I think this challenge has created a monster :) )......and that is that.....

For the challenge over at http://creativehomekeeper.com/  the question is how many pieces of clothes do you need...and you are supposed to take a picture of you closet......so i did


and I know the answer to that question is different for each person depending on your season of life, so I am interested in seeing what that answer ends up being.  The top of my closet seriously needs organizing, but I am certain I am going to part with a few more pieces before I have to organize it!!!!

And that concludes day three in each challenge!!!!

Wednesday, October 2, 2013

A challenge I decided to join

Well actually there is two that I joined for the month of October.  I hope I can keep up, we will see.

A wonderful reader told me about Becky over at http://organizingmadefun.blogspot.com/  and when I got a chance to check out her blog, I decided to follow along.

For the month of October she is hosting


Todays challenge was any dresser drawer, so I chose mine because I am as bad as my kids and cram all I can in there, I have done that since I was a kid myself.

Anyway here is the before:


and here is the after:


I actually even organized them by tshirt or dress shirt or undershirt.....Don't worry i will spare you the picture of my underwear drawer (LOL)  Anyway you get the idea, i never would have though of putting my shirts in a dresser a different way...now I can see what I have.  My poor hubs and kids are in trouble...too bad I cant get all the dressers done in one night.  It even left me with this


An empty drawer...imagine that  (gasp) in a previously over stuffed unable to close it dresser.  Although, I will probably move my sweaters in from under my bed,  but it will be nice to be able to see what I have and if it all fits in the dresser and closet no more swapping out summer and winter clothes.


The second challenge I decided to follow is with Victoria over at http://creativehomekeeper.com/

Her challenge is 31 days to creating a wardrobe you love.  We will see how it goes...maybe I will have to ask your opinions on what I should keep and if i get rid of more....there might be even more space in those drawers!

Check them out...follow along with me! Happy Hump Day........!!!!!!!!!!!!!!!!!!!!!